Finding a Better Web Design Process
December 10th, 2012 by Kyle J. Larson
Creating a successful website is all about process. A good web design process helps you get the ideas out of your head and into a format that can help you make logical design decisions. Breaking the process down into chunks lets you focus on the most important choices first, without getting bogged down in minutia like using a lighter shade of blue, finding the perfect stock photo, or increasing the size of a logo. This article will walk through my approach to the web design process and how it can be used to create a better website.
Step 1: Content
The first step of any good website design process absolutely needs to be getting content! This content includes analyzing an existing site, surveying stakeholders, doing user research, and much more. We’re going to take this content and turn it into a fully-functional design. Starting the process without it is like building a house without a foundation; it may end up looking pretty, but it’s not going to take long before it crumbles down.
This article assumes you’re starting with this content and here are some resources for getting that done:
- Content Strategy for the Web, 2nd Edition
– Amazon
- Starting Out Organized: Website Content Planning the Right Way – Smashing Magazine
Step 2: Project Analysis
After you’ve got all your content, the next step is to take it and break it into pieces that will help guide your architectural and design decisions.
These design items include:
- A list of user goals – What are users trying to accomplish?
- A list of stakeholder goals – What do the stakeholders in the project want to accomplish?
- Brand guides and styles – Is the site professional, fun, artistic, modern, or rugged?
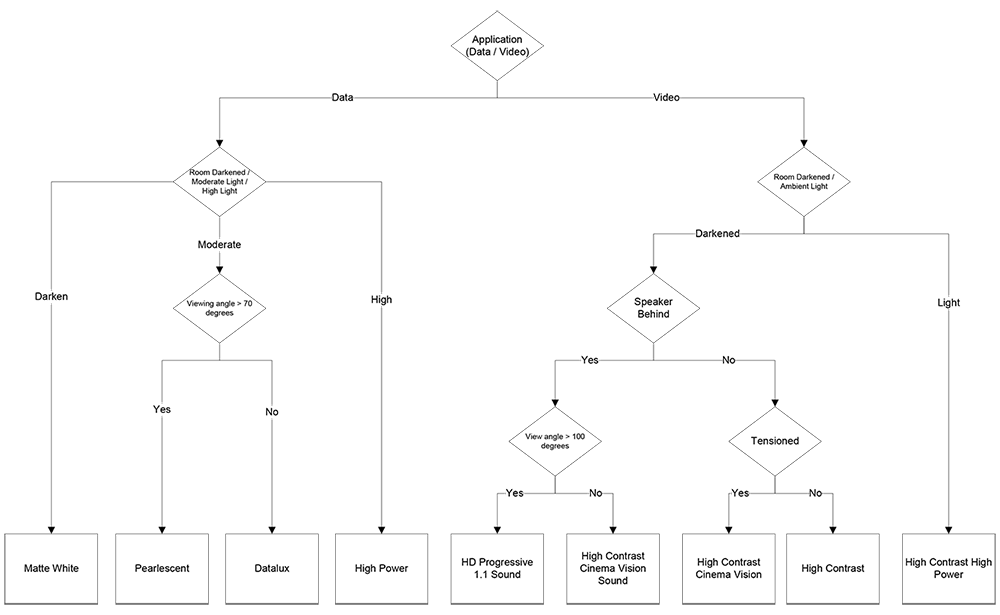
Your architectural pieces will include (Visio & Omnigraffle are useful for site maps and diagrams):
- A site map – How will the user navigate through the site? How can content be logically grouped?
- User flow diagrams – What steps will the user take to accomplish their goals?
- Back-end requirements – What technologies will be used to make the site functional?
Step 3: Sketching (Low-Fidelity)
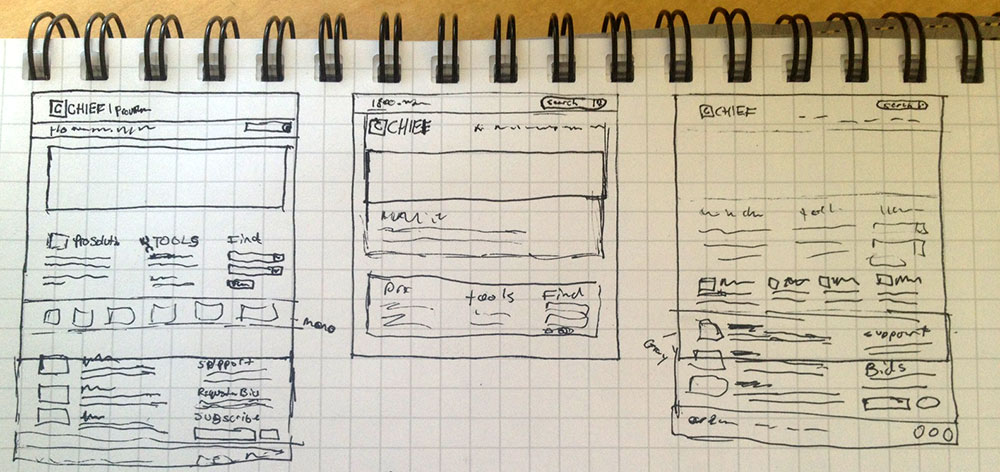
Once I have all the requirements, content, and architecture defined for a website, I start sketching. I think this is an extremely important part of the web design process because it lets you create a bunch of layouts very quickly. If you went straight to Photoshop or another mock-up tool you’ll tend to waste time not focusing on the essentials. My goal is to ‘fail fast’ in the early stages of a design, before the productivity and mental costs of failing are much higher. You’ll find that each time a design doesn’t work, you learn something that improves the subsequent designs.
When doing your first sketches, it’s important to only focus on organization and placement of key content, not on the quality of your sketch. The goal isn’t to present these first sketches to stakeholders. It may be helpful to use a whiteboard or other large-tipped marker to prevent being tempted to add too much detail. Consider sketching any significant sections of your site, not just the homepage.
Build > Test > Refine
Every piece of the design process follows the same pattern: Build, Test, Refine. Our goal is to start working with our ideas in this cycle as fast as possible. Sketches are very fast to build, provide enough information to visually test, and require minimal effort to refine. To test your sketches, focus on what you learned from the content discovery and make sure the layout accomplishes user and stakeholder goals.
Once you’ve completed your discovery by sketching, you can either create a slightly more detailed sketch to show others involved in the project or you can take the concept to a higher-fidelity.
Step 4: Choose a Path
Many designers have a favorite process that they swear by to continue the design from here. They may suggest jumping into Photoshop or Illustrator, working in code, or creating wireframes. I think all of these are valid next steps, but it’s important to look at the big picture and decide what is going to be most useful for the project you’re currently working on. Don’t follow design dogma. I’ll outline a few options for your next step and when I use each of them.
If you’re working with many stakeholders and need stages of approval, it will make sense to create a medium fidelity mockup from your sketches. Typically, this is a good idea and can save you a lot of headaches down the road. By taking this approach you can apply the build, test, and refine process without being locked in to a particular design. If you’re working on a small site, a very minimally designed site, or don’t need buy-off you may choose to go straight into your high-fidelity design.
Medium-Fidelity
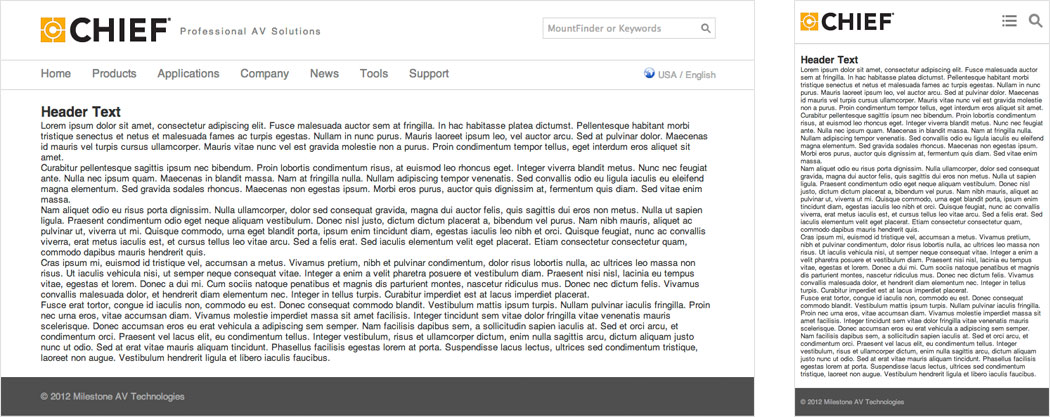
A medium-fidelity design takes our initial sketches and gives them some additional definition. In this stage, don’t focus on the colors, textures, and pixel-precision of the final site. Just like the sketches, this stage allows further refinement without investing so much time that it’s painful to have some failures to learn from. Medium-fidelity mockups are extremely useful for getting buy-off from stakeholders and conducting user-testing. They can be created using a tool for a static layout, by writing code to allow functionality testing, or both.
Wireframes and task flows allow you to build an accurate representation of a site in a short amount of time. These can be shown to users and stakeholders to get immediate feedback without loosing them on emotional reactions they may have to how something is designed. Some tools you may find useful in this process are Visio, Omnigraffle, and Balsamiq. I’ve had a lot of success using Balsamiq for this process.
Medium-fidelity designs can also be created in HTML, CSS, and simple JavaScript to give the feeling of actually using a website. One benefit of this method is that you’ve already started a code-base that you can expand on once you’re in the final stages of building the site. If you’re building a responsive website (a site that adapts to various screen sizes), this can be extremely useful for testing before having a lot of complex code. If you’re interested in user testing, you could use a service like usertesting.com to get immediate feedback.
High-Fidelity
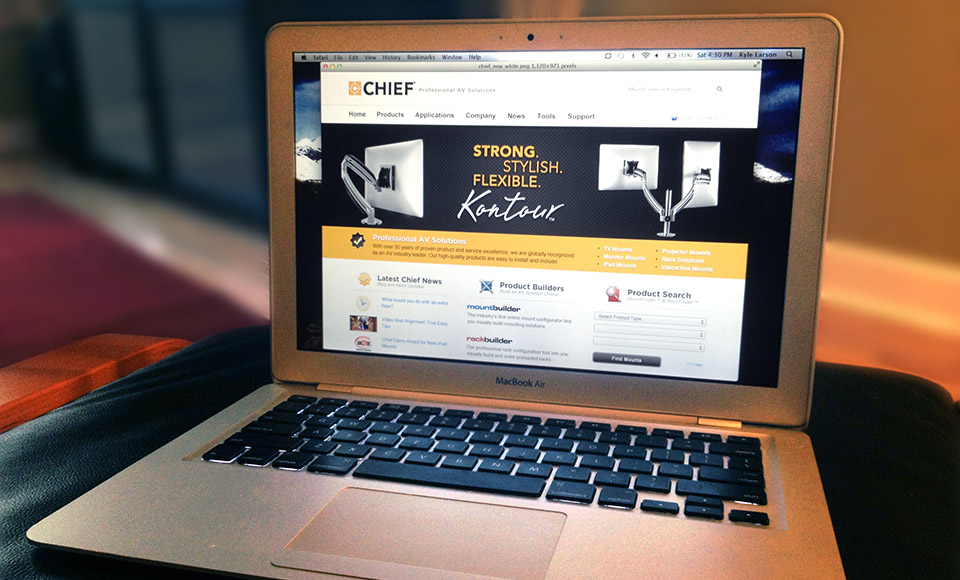
The final stage of the design process is creating the high-fidelity design. This design is the culmination of all the research, building, testing, and refining that you’ve done. In this stage, you have the option of creating your design in a graphics program or going straight to code. I find that if I’m doing a very complex site, with a lot of textures and graphics, that it’s easier to make at least part of the template in Photoshop so I can write my code to the design. This way I don’t have to do as much code clean-up from my experimentation with styling. A less complex design or a responsive site lends itself to designing in code because it’ll typically be faster to reach the testing phase.
Various Tips
- Having problems with clients requesting ‘Frankenstein’ designs (combining elements of multiple designs into one)? Instead of providing different high-fidelity designs, get medium-fidelity mock-ups in their hands to make important decisions before they get emotional about design elements.
- Make sure to pass along any technical requirements, if you’re working with a developer or server team, so they can work on them in tandem with your design process.
- Always get all your ideas out of your head and store them somewhere (paper or electronic). They’re much easier to test this way and you won’t forget something important.


11 Comments
Kyle
Excellent thanks.
Soniya
Nice Article
Shan M Khan
good one 🙂
feezzs64
signmein
Carlton Stith
Great article. I have been using Axure RP for wireframing but i like the organic look of Balsamiq.
Kyle Larson
Thanks Carlton. Yeah I’ve used Axure a bit and it’s great for full-featured prototyping, but I agree that Balsamiq has a nice sketch-like look. I’ve been playing around with sketching and then using the POP (prototyping on paper) app on my iPhone, which works well too.
jim_kuenzer
Great article! Question: How close to the final design do you get your wireframes? I’ve been using wireframes to show what content is on any given page and then letting the designers go nuts with how the content actually lays out on the page. Which is why we still have our Frankenstein problem, I guess…
Kyle Larson
Thanks Jim. I’d say that really depends on the project. Typically the more complex the project (considering either the elements that will be on the page or stakeholders that I’ll need buy-off from), the closer I’ll get to the final design in wireframes. As long as I still feel like I have problems to solve, like getting a better workflow or even just testing other options, I’ll keep wireframing or sketching.
I haven’t done a lot of work where I had to pass it off to someone else, but maybe try showing concepts early just to get the communication going, or determining how far you’ll take the wireframes based on the skillset of the designer who’ll be taking over the project.
If it’s going to be a complex page, I think laying out the content can be a good idea or at least some similar length dummy copy. I’ve definitely come up with designs in the past that I’ve taken too far down the design path without having the content and had to end up reworking them. If it’s a simple page (like an article for example) you can probably get away with just defining hierarchy and flow (headers, image placement, etc).